OpenCV Installation on Ubuntu 16.04 and Integration with Qt
Step 1: Download latest version of OpenCV (OpenCV 3.2.0 is downloaded for this installation)
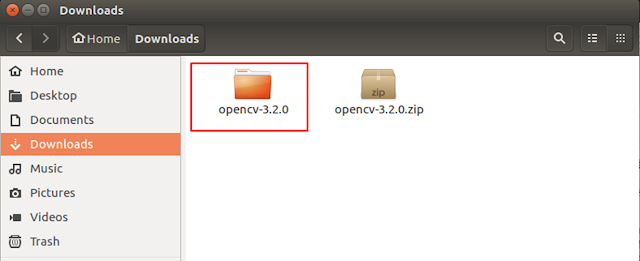
Step 2: "opencv-3.2.0" folder is extracted from downloaded "opencv-3.2.0.zip".
Step 4: If you do not have Cmake-GUI, you can install it using following code.
sudo apt install cmake-gui
Step 5: Open Cmake-GUI and define your "build" and "source" folders path like following image. Then click "Configure" button.
Step 6: After configuration done, select "WITH_QT" property "ON".
Step 7: Click "Generate" button and wait until seeing "Generating done" message.
sudo make install
Step 9: In order to use your OpenCV libraries in Qt Creator, you only need to define OpenCV libraries path in the project (.pro) file as seen following image.
INCLUDEPATH += /home/eyyup/Downloads/opencv-3.2.0/build/include
LIBS += -L"/home/eyyup/Downloads/opencv-3.2.0/build/lib"
LIBS += -lopencv_calib3d
LIBS += -lopencv_core
LIBS += -lopencv_features2d
LIBS += -lopencv_flann
LIBS += -lopencv_highgui
LIBS += -lopencv_imgcodecs
LIBS += -lopencv_imgproc
LIBS += -lopencv_ml
LIBS += -lopencv_objdetect
LIBS += -lopencv_photo
LIBS += -lopencv_shape
LIBS += -lopencv_stitching
LIBS += -lopencv_superres
LIBS += -lopencv_video
LIBS += -lopencv_videoio
LIBS += -lopencv_videostab


